Hurricane Casita Remodel
how we remodeled this casita
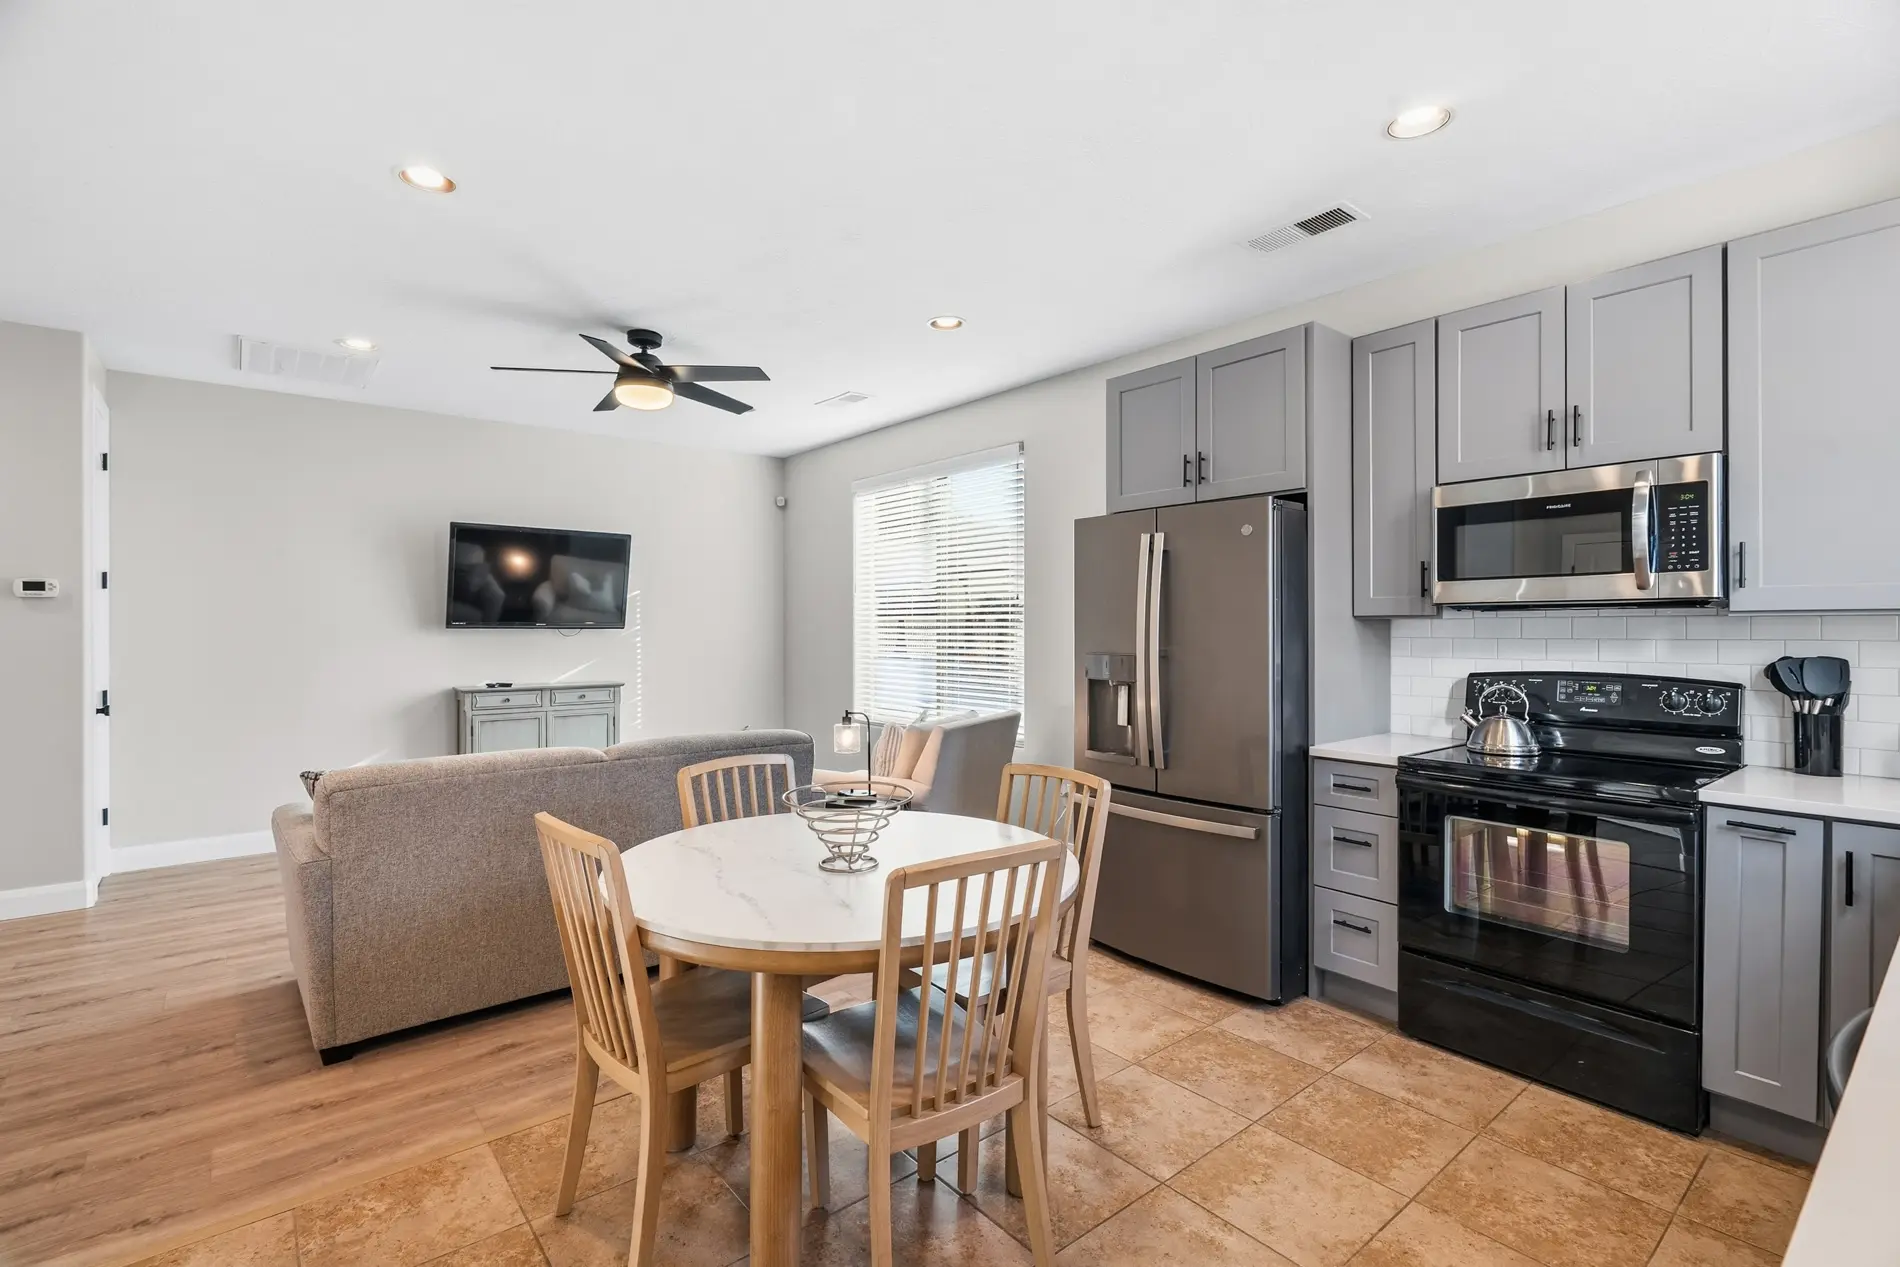
This project included removing the glass sliding door and existing flooring, then relocating the kitchen appliances and laundry hookup to better suit the space. The bath got a full refresh with a new surround, tub trim, vanity, and lighting, while the kitchen was updated with new countertops and cabinets. The team also installed LVP flooring throughout, added a new door to the pantry, and finished the space with fresh paint and new light fixtures.
Week 1
Demo + Prep
We removed all cabinets, flooring, and the doorway, then immediately sheeted the exterior to protect the space from the elements. This kept the project on track and the home protected as work began.
Week 2
Utility Relocation
We relocated the microwave, oven, and the kitchen and laundry hookups to their new positions. This step laid the groundwork for the updated layout the client wanted.
Week 3
Door Swap
Since the client was living in the space during construction, they felt the door to the storage and laundry area was awkwardly placed. We moved the light switch and added a new door that swings inward for better flow.
Week 5
Drywall Repair
We patched several areas of drywall across the laundry room, kitchen, and living room. This gave us clean, solid surfaces to finish the space properly.
Week 6
Carpentry
The cabinets were installed, and we also built floating shelves the client decided to add along the way. We finished the flooring during this phase as well.
Week 7
Tile Work
While reviewing the backsplash tile, the client felt the shower tile no longer matched the vision for the space. We began a change order to replace it and keep the design cohesive.
Week 8
Exterior Sealing
We painted the unit and completed stucco repair to protect and finish the exterior. This closed out the outside work while interior finishes continued.
Week 9
Finish Work
We installed trim, lighting, bath fixtures, and door hardware throughout the space. The project began coming together as a finished, livable home.
Week 10
Final Clean
We professionally cleaned the entire space and walked through it with the owner. This gave the client a chance to see every detail before move-in.
what we learned
This ADU remodel gave us a few reminders about staying ahead of scope, materials, and process on every job we take on.
- Get the full scope locked in before tile work starts — we should have retiled the shower then, instead of adding it as a change order later.
- Double-check cabinet measurements against the layout before ordering. Ours ran long over the doorway, forcing a box swap that delayed the project and added painting costs.
- Follow industry standard when tackling new work. This was our first stucco repair, and patching around the doorway instead of doing it properly didn't hold up.

"You made some great suggestions for layout and it turned out so good. You were really good about adding those additional little services without killing me on the price. Everything just worked out beautiful. The whole casita is just really wonderful now."
reserve your spot
Book a call with McKay to discuss your project, ask questions, get a clear proposal with pricing and timelines. No pressure, no obligation, just clear next steps.